
I love fabric rolled rosettes! They are so fun to make and the possibilities are endless!
Here is my latest creation.
Here is my latest creation.
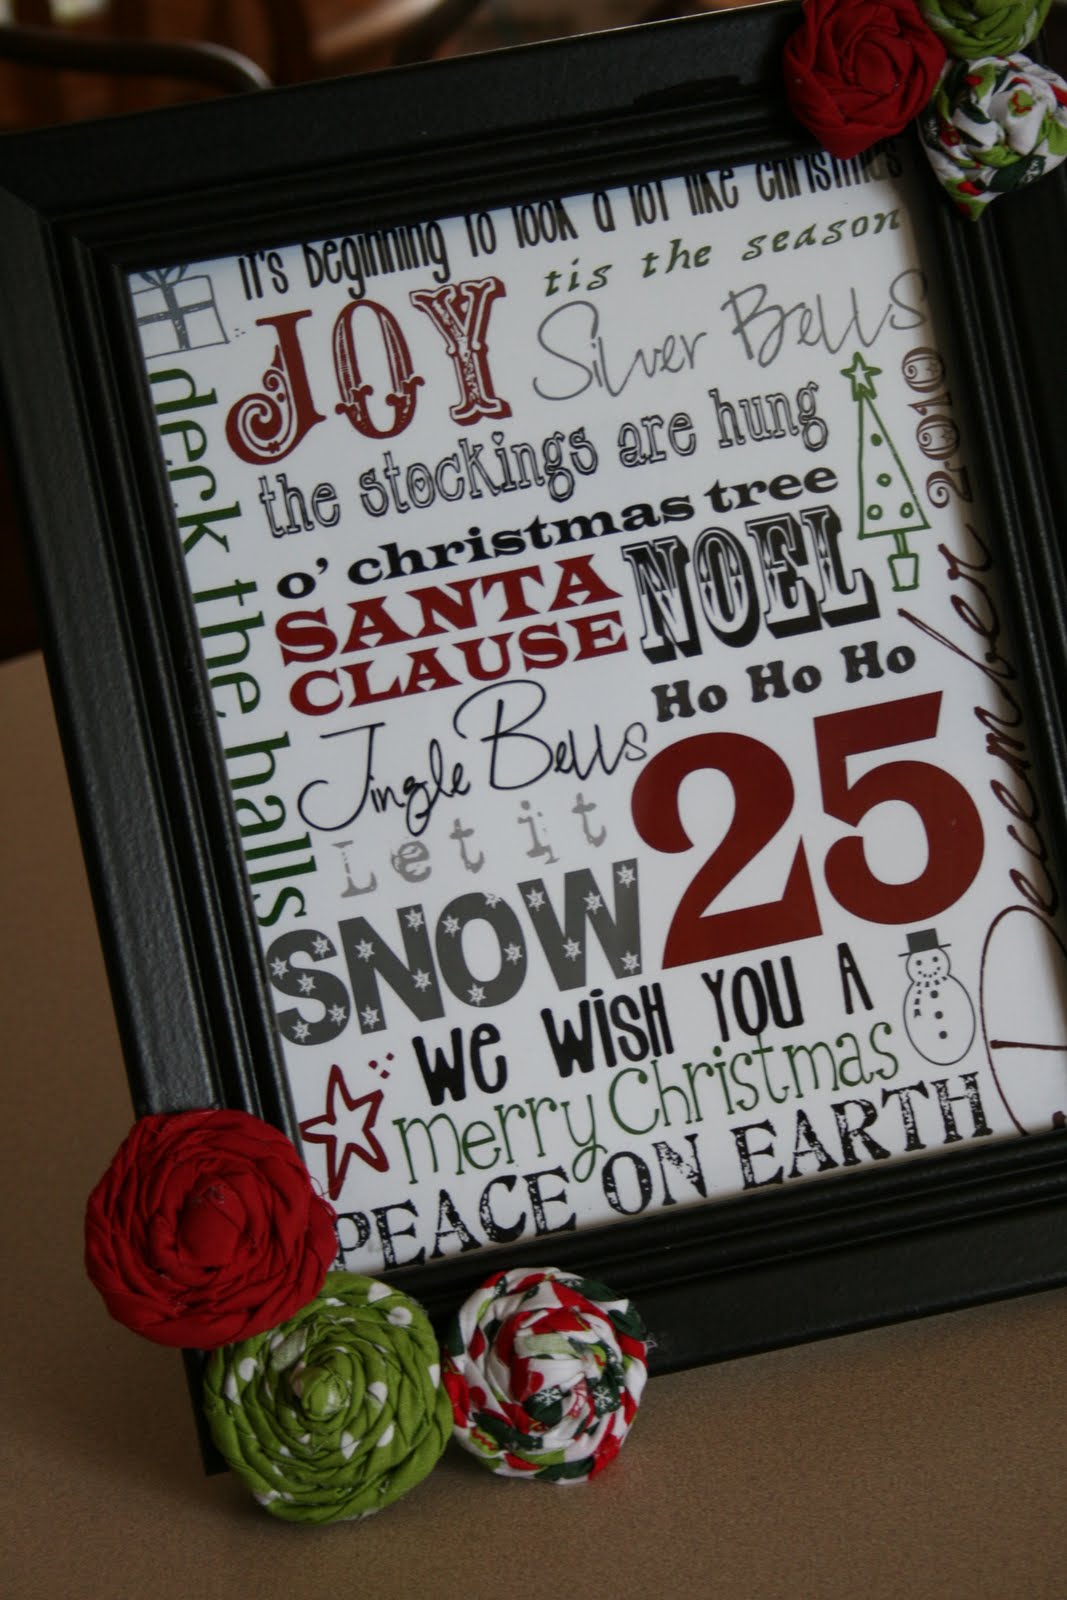
I got the printable here on Pinterest (who doesn't love this site?!) I saved it as a photo and sent it to Walmart to get printed.
First get your fabric. Each rosette takes about a 3"x22" strip of fabric. They length will vary, depending on how big of round you want them. If you have scraps on hand, great! Pick a few coordinating fabrics (I picked 3.) I bought a 1/4 yard of each. Which is enough to make several rosettes.

Next, cut the fabric into 3 inch strips.

Then, you will want to fold those strips in half.

Tie a knot at the end, leaving just a little fabric.

Fold the fabric at the end of the knot over and secure with a dab of hot glue.

Then you start twisting away! You can twist as tightly or loosely as you wish. Make sure you continue to twist the same direction and that your knot remains facing up and in the center of your circle.

Secure with a little more hot glue as you twist.

When you get the rosette to the size you want, cut the remaining fabric.

Fold over the remaining fabric and secure with hot glue (just like the beginning.)

Here are some finished rosettes. Notice how they are all a bit difference in size.

I then put my printable in a 8x10 frame and arranged my rosettes and hot glued them along the frame.

I love it! Now it just needs to be Christmastime so I can put it out!

This is another one I did. We did this dry erase board at a church craft night.
 I love them and there are so many ways you can use the rosettes. I have seen them on headbands, hair clips, wreaths, etc.
Give them a try, you'll love it too!
1 comment:
Great job, the Christmas Subway Art looks great. You've definitely got the hang of the rosettes. Wahoo!
Post a Comment